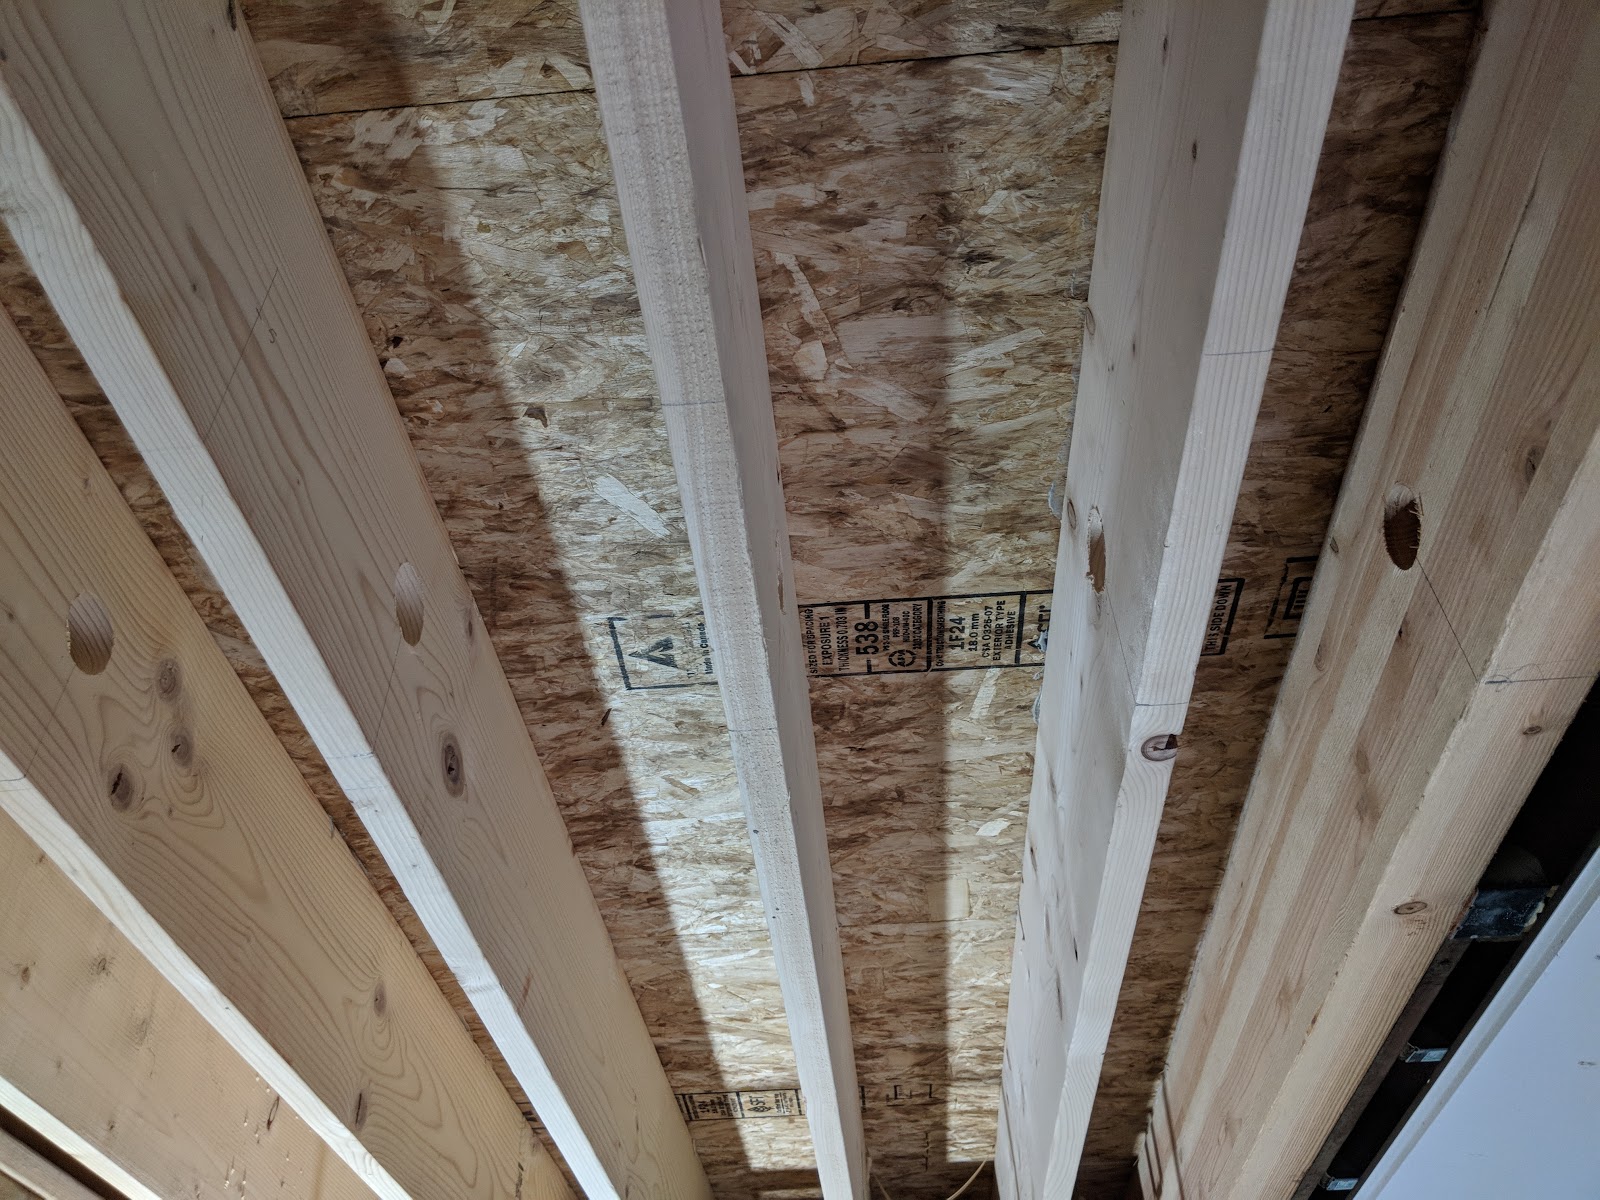
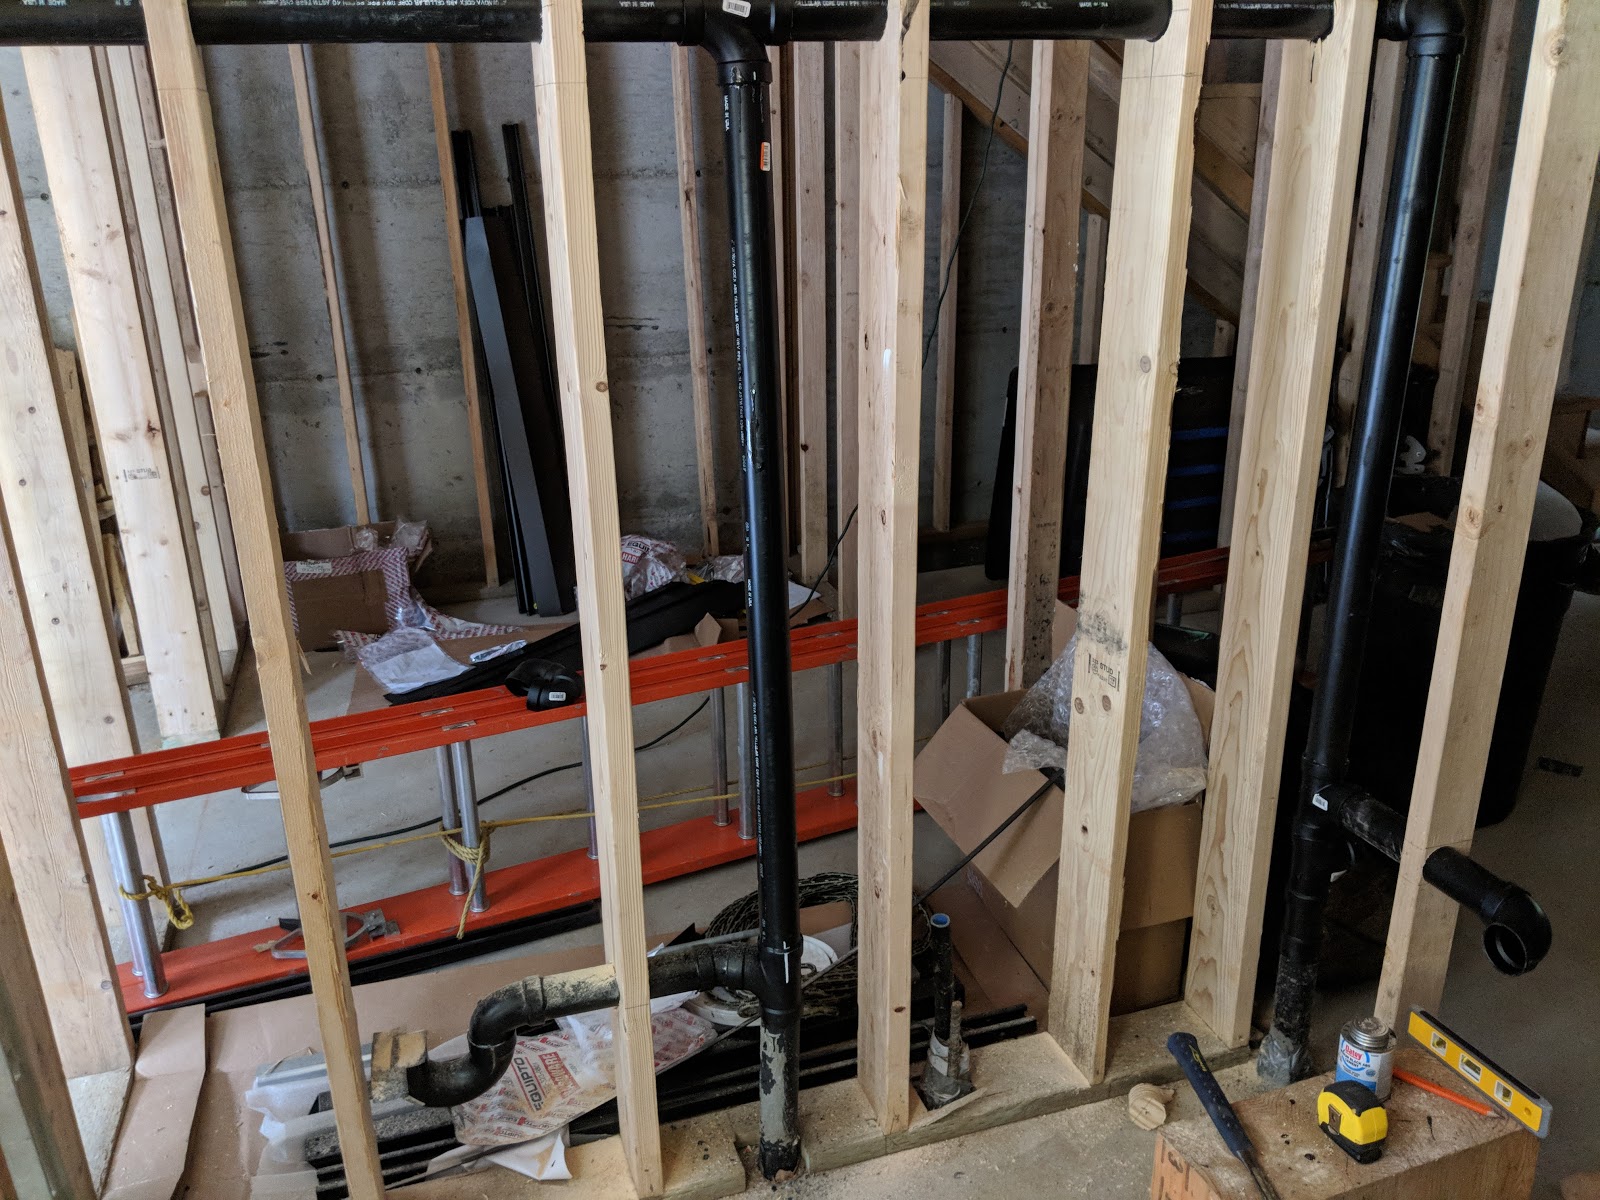
Continuing the preparation for siding mid-August, by flashing the beams. Also, just 10 minutes of glue-up away from completing the ABS plumbing -- but I was short two lengths of 2" pipe.
A tech-guy on a modest budget designs and builds a modern mountain cabin in the central Cascade mountains. The dirt-to-finish process - one pathetic step at a time.
26 July 2018
22 July 2018
Siding Prep
In preparation for installing the siding, Katie and I spent the day sealing the gap between the foundation and framing, and sealing the bases of the flying beams with Red Guard. All these areas will be covered with siding or flashing in a few weeks.
And, of course, somehow I arrived without *any* right angle fittings to complete the vent plumbing. So the finale will have to be next time.
15 July 2018
ABS Home Stretch + Siding & Boom Lift Ordered
Very productive day at KnArrow Haus with the ABS plumbing. (And a beautiful day, at that -- low 80's!)
I completed all the plumbing tie-ins from the upper floors in to the main stack in the basement, and have also run all the vent stacks up from the basement to the main floor. Can't tell you how good it felt to know I was "finished" in the basement with ABS.
Literally all the remains to complete the drainage plumbing is completing the vent stacks behind the wall, and tieing the vent stacks on the upper floor together. ...then "The Pressure Test" where I block off where it runs in to the septic system and fill the whole thing full of water to make sure it doesn't leak. (I think I glued everything...I'm pretty sure....)
This all comes in good timing because I placed the siding order on Friday. It will be delivered August 13th. I've planned to take the week off to get the siding done and the Haus fully protected before the Summer end.
Here's the siding order (through Callie at Stoneway Roofing):
I'm also renting a 4wd boom lift for the week so that I can be confident we'll get the job done.
I completed all the plumbing tie-ins from the upper floors in to the main stack in the basement, and have also run all the vent stacks up from the basement to the main floor. Can't tell you how good it felt to know I was "finished" in the basement with ABS.
I tied the 3" run from the upper floors in to the main stack (far right).
Tied the 2" kitchen drain in to the main 3" stack. And tied all the 2" vent stacks from the sinks, laundry, toilet, and shower together, and up through the floor in to the kitchen.
I had to come up with some way to insert a straight pipe in the middle of a straigh run where neither side could be moved. I ended grinding out the flange in the middle of 2" sleeves, putting them fully on each immovable pipe, then sliding them back halfway on to the pipe in the middle. Worked like a charm.)
The 2" pipe on the right is the kitchen drain. The pipe on the left is the vent stack from everything downstairs. I got these run through the sheer wall. They will meet up above counter height behind the sheet wall.
This all comes in good timing because I placed the siding order on Friday. It will be delivered August 13th. I've planned to take the week off to get the siding done and the Haus fully protected before the Summer end.
Here's the siding order (through Callie at Stoneway Roofing):
I took detailed measurements of the Haus, and transferred all the measurements in to Sketchup. Then I used sketchup to plan out each panel's measurements and put them in to Excel.
I also used Sketchup to creating the flashing profiles.
I'm also renting a 4wd boom lift for the week so that I can be confident we'll get the job done.
08 July 2018
Lessons from the 3rd plumbing day this week
Lessons learned during my third day of plumbing rough-in this week at Knarrow Haus:
- Don't return fittings you think are surplus until your finished -- chances are you'll need them.
- A 1/2-hour drive to Leavenworth to purchase missing fittings is a 2 hour roundtrip due to weekend traffic.
- It takes a minimum of two people to glue-up plumbing between floors (I learned this a few weeks ago, but it was reinforced again today.)
- Unplug the hole saw before you change the bit. (Oops. Ouch. Bandaid.)
My entire time was spent downstairs converging all the plumbing runs in to the main stack or in to smaller stacks that run under the slab, and starting to run the venting.
04 July 2018
2 days of plumbing
I took Monday and Tuesday off of office work and spent them working up at the Haus, with Katie in tow. Made significant progress on the drainage plumbing: All the drains from fixtures are now run in to the basement and *almost* tied in to the main stack that hooks to the septic system.
With Katie's help I glued and connected all the pipes from the upper floor fixtures through the main floor wall and down in to the basement.
This shows the upper floor pipes coming through the basement ceiling above the foundation top plate and then tying together so that they run to the septic system. There was one moment of PANICK during the glue-up trying to connect the middle pipe into the horizontal run. Some quick thinking and cutting and gluing got it resolved. It's very difficult when there's not a lot of play between the pipes to connect a fixture in to pipes coming from orthoganal directions.
I hooked up the drain from the sink (coming from the right) to the toilet coming from the top-left. But the long elbow at the end routing it all to the left was another panick event. I was unable to successfully complete the first attempt to glue it. I wasn't able to move the 3" pipe over to the joist far enough to glue the 90-degree elbow in. So I abandoned it, thought about it over night, and was able to make some adjustments the next day to get it in.
Standing on a ladder, drilling through joists above your head with a beastly 3" hole saw at the end of an 11.0 amp drill that wants to rip your arms off and crush your fingers results in A LOT of sawdust. My sawdust placement skills are not very good as evidenced by the picture above.
The implement of my torture - my latest tool purchase. (I will promptly sell it after the project is done.)
My best guess is that it will take about 2 more full days (maybe 3) to finish up the ABS plumbing. Then I'll need to pressure test it...
30 June 2018
Brief medical hiatus
I've been futily staving off an ingrown toenail for about 3 months. It was finally too much to bear, and I got an appointment with a podiatrist on Friday to implement a lasting fix. So no work at KnArrow Haus on Saturday, but I am planning to go up Monday and Tuesday to put a ribbon on the ABS drainage plumbing.
Here's the carnage/fix:
26 June 2018
24 June 2018
Planned siding detail
I'm going to try to get siding ordered this week so that I can begin on it in July.
I had some inspiration mid-last week, and am planning to put a Swiss cross on the East side. The body of the siding will be either galvanized or light silver/gray. The cross will be darker gray. Around the door will be wood -- not sure what kind/color yet, but something natural. The siding on the upper floor in the front (South) will be dark gray Hardie panel.
The hole in "the beam" - A leap of faith
Last weekend I left the Haus having measured two different scenarios for routing the main level powder room's sink drain to meet up with the plumbing stack. I have to go *through* one of the large (4x12) glulam beams -- no options for over/under/around. But to maintain 1/4" per foot slope on that run, I was having trouble getting my measurement to meet up at the right level with the toilet's 3" drain, which also needs to maintain the same slope.
When I returned this time, I remeasured once again and decided that if I took the 2" run through the joists at 1/8" per foot, it would *probably* meet the 3" run at pretty-close-to-the-right level. (When drilling through glulams, there are some "rules", which are essentially only put small holes in the middle third (horizontally and vertically) of the beam.)
"Measure twice. Cut once."
"You can't undrill a hole."
Lots of inner monologue.
After a few more minutes in "The Thinker" pose, I came to terms with the fact that no amount of thinking, analyzing, measuring, marking or inner monologue was going to result in that plumbing run actually becoming "done." I would have to take a leap of faith and actually *drill the hole* in the beam.
Since the beam is 4" thick and my hole saw bottoms out at about 2", I had to cut the hole half way, then chisel out what had been cut, then continue with that process a couple times to get all the way through. About 20 minutes, lots of sawdust, and sore shoulders later, the result is pictured below.
My day ended about 8pm.
When I returned this time, I remeasured once again and decided that if I took the 2" run through the joists at 1/8" per foot, it would *probably* meet the 3" run at pretty-close-to-the-right level. (When drilling through glulams, there are some "rules", which are essentially only put small holes in the middle third (horizontally and vertically) of the beam.)
"Measure twice. Cut once."
"You can't undrill a hole."
Lots of inner monologue.
After a few more minutes in "The Thinker" pose, I came to terms with the fact that no amount of thinking, analyzing, measuring, marking or inner monologue was going to result in that plumbing run actually becoming "done." I would have to take a leap of faith and actually *drill the hole* in the beam.
Since the beam is 4" thick and my hole saw bottoms out at about 2", I had to cut the hole half way, then chisel out what had been cut, then continue with that process a couple times to get all the way through. About 20 minutes, lots of sawdust, and sore shoulders later, the result is pictured below.
The hole in "the beam".
Holes in the rest of the beams for routing the 2" sink drain from the main floor powder room.
The 2" drain fully installed. (Well, mostly. I haven't glued the pipe going through the joists because I need an ABS fitting that will join the 2" pipe in to a 3" long-turn elbow.)
Full view of the 2" drain.
This is the origin of the 2" drain run: The sink drain in the main floor powder room.
I was counting on my "helper" arriving mid-afternoon to help with glue-ups between floors. But our daughter had a second basketball game yesterday, so my helper had to stay with her. Another solo weekend.
I turned my attention to finishing up, as much as possible, the downstairs plumbing runs and vents.
I completed the sink drains for the bathroom and the wet bar, including the vent which meets up with the washing machine P-trap.
17 June 2018
Measuring twice: Siding + basement plumbing
Spent a beautiful Saturday at the Haus (except for one rain squal deluge). The snow is all but gone.
The carpenter ant sprayers were up in the neighborhood, so I had them add us to the list. And I'm glad I did. Look what I found (below) when I ventured on to the adjacent lot.
Using the measurements, I've created a hyper-accurate rendering in Sketchup to help me figure out paneling measurements.
I'm planning to put corrugated metal siding on all the faces except the upper floor on the front and around the front door. I've started getting bids for this brand of siding. Still trying to determine if I do 26 gauge or spring for the 24 gauge.
And I have to finalize the color still. Opinions on color?
The carpenter ant sprayers were up in the neighborhood, so I had them add us to the list. And I'm glad I did. Look what I found (below) when I ventured on to the adjacent lot.
A very big ant hill about 50 feet from the Haus.
I got all the holes drilled for the plumbing run coming down from the upstairs. These pieces are just loosely fit so I can keep track of the fittings. I couldn't glue them up yet because I need a helper standing on the floor above to help push and twist.
I was able to glue up the trap for the washing machine. Also drilled the holes for the sink drain vent (not visible off to the right) but couldn't hook it up because I need a T-fitting with a vent out the top.
I spent most of my time measuring where holes need to be drilled through joists so that I can run the powder room sink drain and hook it up to the toilet drain (through 3 joists), and then run it through 3 more joists so that it meets up with main stack -- all of this while maintaining 1/4 per foot slope.
The problem I ran in to is that I'm supposed to NOT drill holes through joists in the top 2" or bottom 2". I ran into violations in the rule as I charted things out. Lots of up-and-down latters measuring and marking joists. Before drilling any holes through joists I conceded defeat, deciding I'd come back with a fresh mind and someone else to consult with. Remember, "You can't undrill a hole."
Remembering that maxim, I also took some second measurements on the exterior structure for the siding. I lifted a 26 foot off my mother and brought it up to the Haus so that I could get an actual measurement on some of the wall heights instead of relying solely on counting panels.
I'm planning to put corrugated metal siding on all the faces except the upper floor on the front and around the front door. I've started getting bids for this brand of siding. Still trying to determine if I do 26 gauge or spring for the 24 gauge.
And I have to finalize the color still. Opinions on color?
Subscribe to:
Posts (Atom)