For all of those who wished they'd been there for the victorious conclusion of our sumptuous summer of siding, now you can relive the culminating 3 weekends in less than 2 handful's of minutes, all set to scintilating slide-guitar songs.
29 October 2018
28 October 2018
Epic power tool to the rescue
As we pick-up this week's episode, you'll recall that last week the 4'x10' Hardie panel ate our lunch with impunity. So this week, I did what any self respecting do-it-yourself-er would do: Rent an epic power tool, in this case a 35' trailerable boom lift (from Home Depot).

Home Depot doesn't allow rental equipment reservations and when we showed up a the Bothel location early Saturday morning, theirs was already rented out. A quick call to the Snohomish store saved our bacon. (BTW - I like the people at the Snohomish Home Depot -- personable, friendly, kind and helpful.)

We attached the lift to the Sequoia and had a beautiful Saturday morning drive up Highway 2. And enjoyed a dry but cool day working at the cabin...until the rain hit at about 6 pm as we were packing up. We got drenched packing up and had some fits and starts getting the trailer lift reattached to the Sequoia.
The pictures not shown (and not taken) are of us wrestling with this trailerable behmoth to get it positioned close enough to the Haus. Had to take a mulligan on the first false start because the lift only swivels fully in one direction. Our driveway has an area where a car can pull through and loop around, across our drainfield and on to the neighbors driveway, but it's TIGHT. We didn't have a lot of room to maneuver, so we got the lift generally close to where we wanted it, then had to lift and push it in to position -- less than easy on dirt and gravel. I'm sore today from doing deadlifts with the tongue of the trailer.

I positioned the basket just above the front porch to make entry/egress easier and save time.


Cutting the final trim pieces for the corners.
We placed some 2x4's on the railing of the basket to serve as a sort of forklift for carrying the heavy panels until we could get them in to position. In the end, the 4'x10' piece of Hardie panel still proved too heavy and unwieldy for us to put successfully put in place, even though we tried. We finally elected to cut the panel in half. The smaller pieces went up easily -- only a slight compromise on the overall aesthetic. And I have to say, that not having to carry those pieces up and down a ladder was a blessing.

No mishaps navigating the bucket.

Fastening the cut-in-half top panel.

The obligatory shot looking down.

Is that a worried look?


Mounting the final top pieces to cover sofits -- a one-man job.

Notice that Katie donned the down jacket after the clouds came in.

Mounting corner trim.

Ugh. As I look at the picture above,
I see that we forgot mount the Hardie panel pieces between the windows.... Aarg!

We arrived back at the Snohomish Home Depot at about 8:15, grabbed a mediocre sandwich from the Arby's drive through on our way out, and arrived home just before 9:00 pm tired and wet -- probably our longest work day this year.
23 October 2018
Floor Plan Diagrams
Some mid-week amusement in #Sketchup while I order lighting and try to round-up a lift to finish the siding this weekend, weather premitting.
Enjoy.

Enjoy.

21 October 2018
Siding Swarm (and Photo Blitz)

Here's where we got to on Saturday. Continue below for the details of the day's journey.
The custom ordered, iron gray Hardie Panel arrived at the supplier early this week. I borrowed Devon's truck on Friday, and picked up the Hardie Panel and some rigid foam insulation.

Hardie Panel on the bottom, Hardie Reveal flashing on the side,
and rigid foam insulation on the top.An awesome crew of friends (Tom, Brett, Christopher, Bryan, Jaxon) came up Saturday morning. Our goal: Get all the paneling mounted on the front the cabin.
What got done?
- Upper flashing on the flying beam at the back of the Haus installed. (Tom & Christopher)
- Rigid foam insulation installed under the cantilever. (Bryan, Jaxon, Christopher)
- Wiring for porch lights in the cantilever. (Bryan)
- Four of the six Hardie panels installed. (All of us.)
The back story with pictures below.
As always, the first panel takes the longest to get up because we're all figuring it out together. Here's the process (for posterity):
- Get the ladders up and positioned in the right spot for the panel (+anchor the based of the ladder on the sloped walkway with a tie strap).
- Climb the ladder and confirm measurements for first panel, accounting for offsets of the reveals.
- Mark the panel. Measure again. Re-mark the panel. Snap a chalk line.
- Wearing a dust mask, cut the panel.
- Mark the screw holes.
- Drill the screw holes.
- Wipe the dust off the panels several times.
- The people at the top of the ladders have cordless impact drivers and screws. The people at the bottom of the ladders have the panel and wood poles to help push up the panel.
- Wrestle the panel up and put it in place.
- Make sure the panel is positioned correctly (level, aligned, correct overhang, etc.)
- Mount the screws in the predrilled holes.

First panel of the day cut.

First panel being carried over.

Positioning the first panel.

Fastening the first panel.

Repositioning the first panel.

Final fastening of the first panel.

Measuring for the porch overhang insulation.

Preparing to cut the insultion.

Head scratching.

Cutting the insulation.


Insulation going up.

Fastening panels and trim.

Cutting the Hardie Panel.

Measuring and fastening.

Katie and the panels.

Measuring for the beam cutout.

Notching out the 3rd panel for the beam.

Notching out the 3rd-panel for the beam.


Marking the drill holes on the third panel.

Marking and drilling the 3rd panel.

By now you've got the picture of what's going on.

Carrying the third panel up to the porch.

Putting the third panel in place.
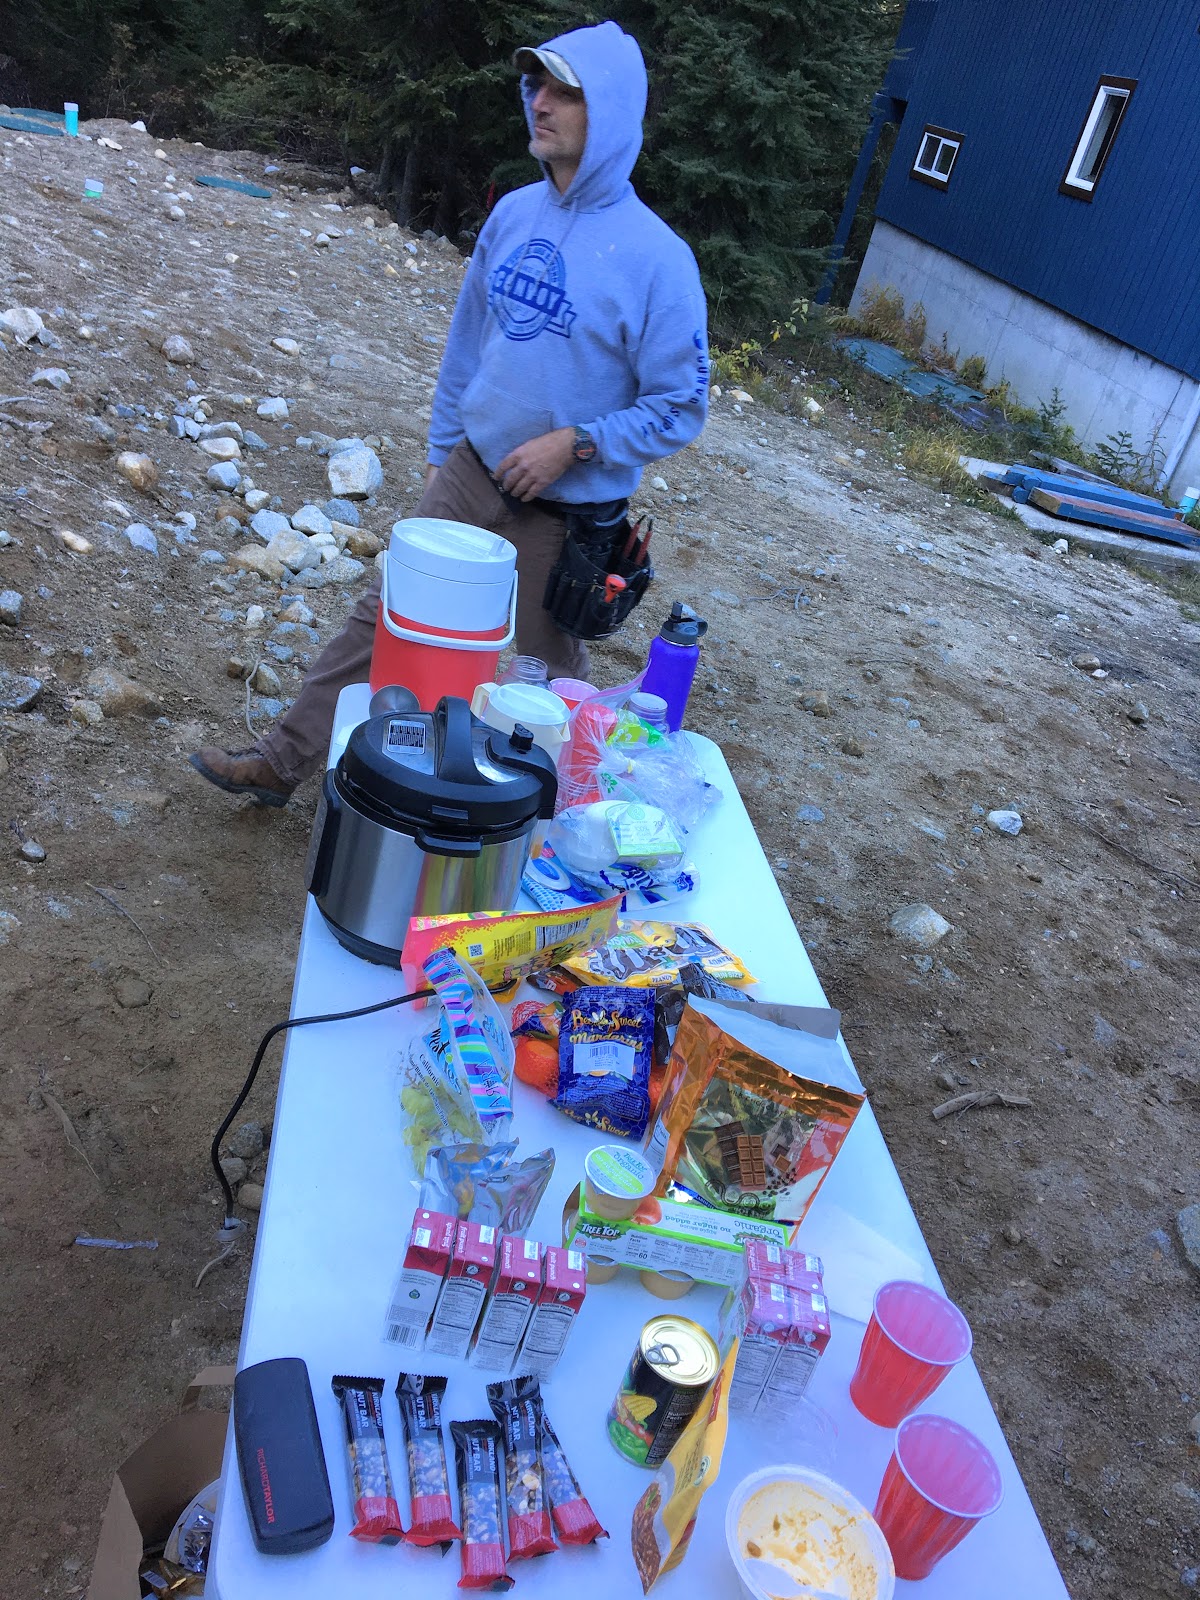
The lunch/snack table courtesy of Katie.

Fourth panel going up.

Jaxon and Tom fastening the 4th panel.

Attempt at carrying the 5th panel up to the top.

This is about as close as the 5th panel got to it's intended resting place.
Some of the things that can go wrong during the process of hanging Hardie Panel:
- "Where are all the tape measures?"
- "Where's a pencil?"
- "Can I use that extension cord now?"
- "That panel doesn't look centered. It needs to move over just a little."
- "This line is 1/2-inch off."
- "This bit is too small"
- "The screw broke off."
- "Another screw broke off."
- "This bit's not working."
- "This bit is broken."
- "Another screw broke off. That's 4!"
- "Can you remeasure that?"
- "Let's get the dust off the panel before we put it up. Where's the rag?"
- "I can't fit the panel in. We need to cut another inch off."
- "I think John should move. I feel like this panel might drop."
- "I don't have enough leverage."


I grabbed this picture from the truck as we were driving out.
Subscribe to:
Posts (Atom)