27 July 2020

Beetle Pine'ing the Downstairs Ceilings

After cutting up the remaining beetle-stained pine into usable lengths and discarding the cruft, we brought it all upstairs and sealed it with polyeurethane BEFORE installing it.

Finished pine drying.

Installing the pine we finished earlier that morning.

Tuesday afternoon/evening progress on the basement ceiling.

Thursday evening progress.

Finally, on Saturday we completed the downstairs rumpus room ceiling.

Completed ceiling in downstairs rumpus room.


And we completed the downstairs bathroom ceiling.

And, before we could complete the downstairs ceiling, we installed
all the railing posts throughbolted with 1/2" bolts to the floor joist.

Finally, a week later Monday, we finished the utility room ceiling.

CEILINGS DONE. Heavy sigh. Whew.

For our final project of the day, we installed the lower rails between the porch and back deck posts; and took measurements so I can order the custom mesh sections that will be in each railing opening.

Front porch with bottom rails installed.

Next up: Concrete floors need to be sanded, stained, and sealed. And the finish stair case needs to be installed.

08 July 2020

6 Day Ceiling Blitz

We worked 6 of the last 7 days to finish up the ceiling panels. Exhausted. 

Day 1 - Begin Bunkroom

Bunk room ceiling at the end of July 2.

Day 2 - Finish Bunkroom

Bunkroom ceiling finished at the end of July 3

Day 3 - Almost Finish Master Bedroom

All but the last row finished in the master bedroom by early evening July 4.

Day 4 - Finish Stairwell/Hallway and Master Bedroom

Work slowed down on July 6 to carefully setup and move the work platform
over the staircase. (23 ft from the top of the ceiling to the landing on the floor below.)

The platform is shakey at that height. And it's psychologically worse when it spans over an additional 10 foot drop. Nope, I don't like it. 

Katie putting in the last panel in the upstairs hallway.

Selfie with the stairwell ceiling finished on July 6.

Day 5 - Finish Master Bathroom

At the beginning of the day, I ran to Home Depot and bought a few more 4x8 sheets of birch plywood and had them cut them there. (I wish I'd been able to do that for all the sheets -- their saw is crisp and accurate.) Katie sealed those panels at the end of the day. 

On July 7 we finished the last row in the master bedroom
and completed the master bathroom ceiling.

We also started installing the door hardware.

We wanted to start on the ceiling in the bunk bathroom in the hallway, but we ran out of black tape (which was thankfully waiting for us on the doorstep when we returned home in the evening.)

Day 6 - Finish Hall Bathroom & Prep Pine for Basement

Selfie with the hall bath ceiling in the background. 

At the outset of the ceiling project, I ordered a 5 lb. box of screws. We were one screw short. Katie and I foraged and found a solitary screw hiding at the bottom of the tool bucket for the win!

The fireplace repair folks were also up in the morning to inspect the Winter's damage and make plans for a permanent fix that will include a custom built snow hood/shed. They took measurements and will return in a few weeks to install the new snow hood/shed.

After we finished the hall bathroom, we moved all the tools downtairs and I went to the basement to begin working on preparing the remaining beetle-stained pine. (This is the same pine that I've used on all the walls with windows.) I sorted through the entire pile of remaining pine (that has been sitting in the house for 4 years!) to clear out the bent/warped, heavily knotted, and heavily sappy pieces -- about 20% waste! (I won't use that supplier again.) I cut the waste into 16" lengths to be used as firewood. 

The chop saw worked hard today. 

The beetle stained pine waiting to be sealed BEFORE installing it.
(We forgot we'd run out of sealer the day before when sealing the plywood panels.)

The basement is now finally clear of the stacks of 14 foot pine boards.

The various hand tools we used to install the ceiling panels, all resting peacefully.

A "59er Diner" lunch with the extended 'crew'.

27 June 2020

Entry & Powder Ceilings Finished

Finished up the rest of the main floor ceiling work today in the entry/mud room and powder room. 
Entry / Mudroom Ceiling

Powder Room Ceiling

Here's a quick walkthrough of all the first floor ceilings.

All of the tools and equipment are now moved to the upstairs where we'll start this week.

23 June 2020

Family Room Ceiling Finished

An afternoon trip to meet a loan progress inspector today, after which Katie and I finished up the ceiling in the family room.


Only the entry and powder room ceilings remain to finish on this level.

20 June 2020

Landing Posts, More Ceiling Panels, a Bear

I realized this week that I would need to get the upstairs railing posts fastened to the floor joist before mounting the final ceiling panels underneath the uppper hall. I wanted to use 1/2" through bolts, which requires access to the both sides of the joists. The posts are 2"x2" angle iron.

The first (corner post) was stubborn today. Lessons learned:
  • A ceramic bit in a jig saw is ineffective on concrete.
  • Masonry grinding discs work on concrete (and make a big mess).
  • Don't attempt to drill pilot holes in metal joist hangers with drill bits meant for wood.
  • Don't forget the socket set when your putting in lag bolts.


After over 3 hours, two through bolts were finally in the corner post, and starter holes for the lag bolts as well. (They'll wait until I bring up the socket set.) The remaining three posts were mounted with through bolts in about an hour.

The rail posts for the upper landing.

I used 1/2" through bolts to mount each post to the floor joist.

On Tuesday afternoon, we installed 2 additional rows of ceiling panels.

2 more rows on Tuesday afternoon.

Then, after installing the posts on Saturday, we finished two more rows.

2 additional rows on Saturday.

Ceiling panels and railing posts in full view.

Oh, and on the drive in over a temporary detour we saw another large, brown bear. He'd caught wind of our car and was in full gallop ahead of us, darting into the trees before we could get a camera on him. Needless to say, Mackenley was inside most of the day with us.

14 June 2020

Ceiling panels begin their ascent

The birch plywood panels began their ascent to the ceiling on Saturday after a week of cutting and preparation. Pictures in reverse chronological order.

From the mudroom door.

From the back, window wall.

The first 6 panels installed.

I failed to source a large enough hole saw for the cans before Saturday. I had to mark and cut each hole by hand with a jig saw. Very time consuming. (I promptly ordered the right-size hole saw on Amazon Saturday evening, as soon as we returned home. It'll be here in a cople days.)

Because we're leaving a 1/8" gap between the panels, I'm using
black gaffers tape in between the panels to hide the framing
and insulation that would otherwise be visible in the gap.

Katie and Eliza took a Friday afternoon field trip to begin varnising the panels so that we'd have some ready for to install on Saturday.

The varnished panels drying on Friday after Katie and Eliza's handiwork.

Eliza varnishing the panels Friday afternoon.

10 June 2020

Good news / Bad News.

The good news? 

I finished cutting thirty-six 4x8 plywood panels into 2x4 panels -- 4 pieces from each panel.

2x4 birch plywood panels, ready to finish and install on the ceiling.

Mackenley with the assist.

Made a bit of a mess.

The bad news?

We now have 144 panels that need to be sealed and mounted to the the ceilings.
2x4 birch plywood panels, ready to finish and install on the ceiling.

In other good news...

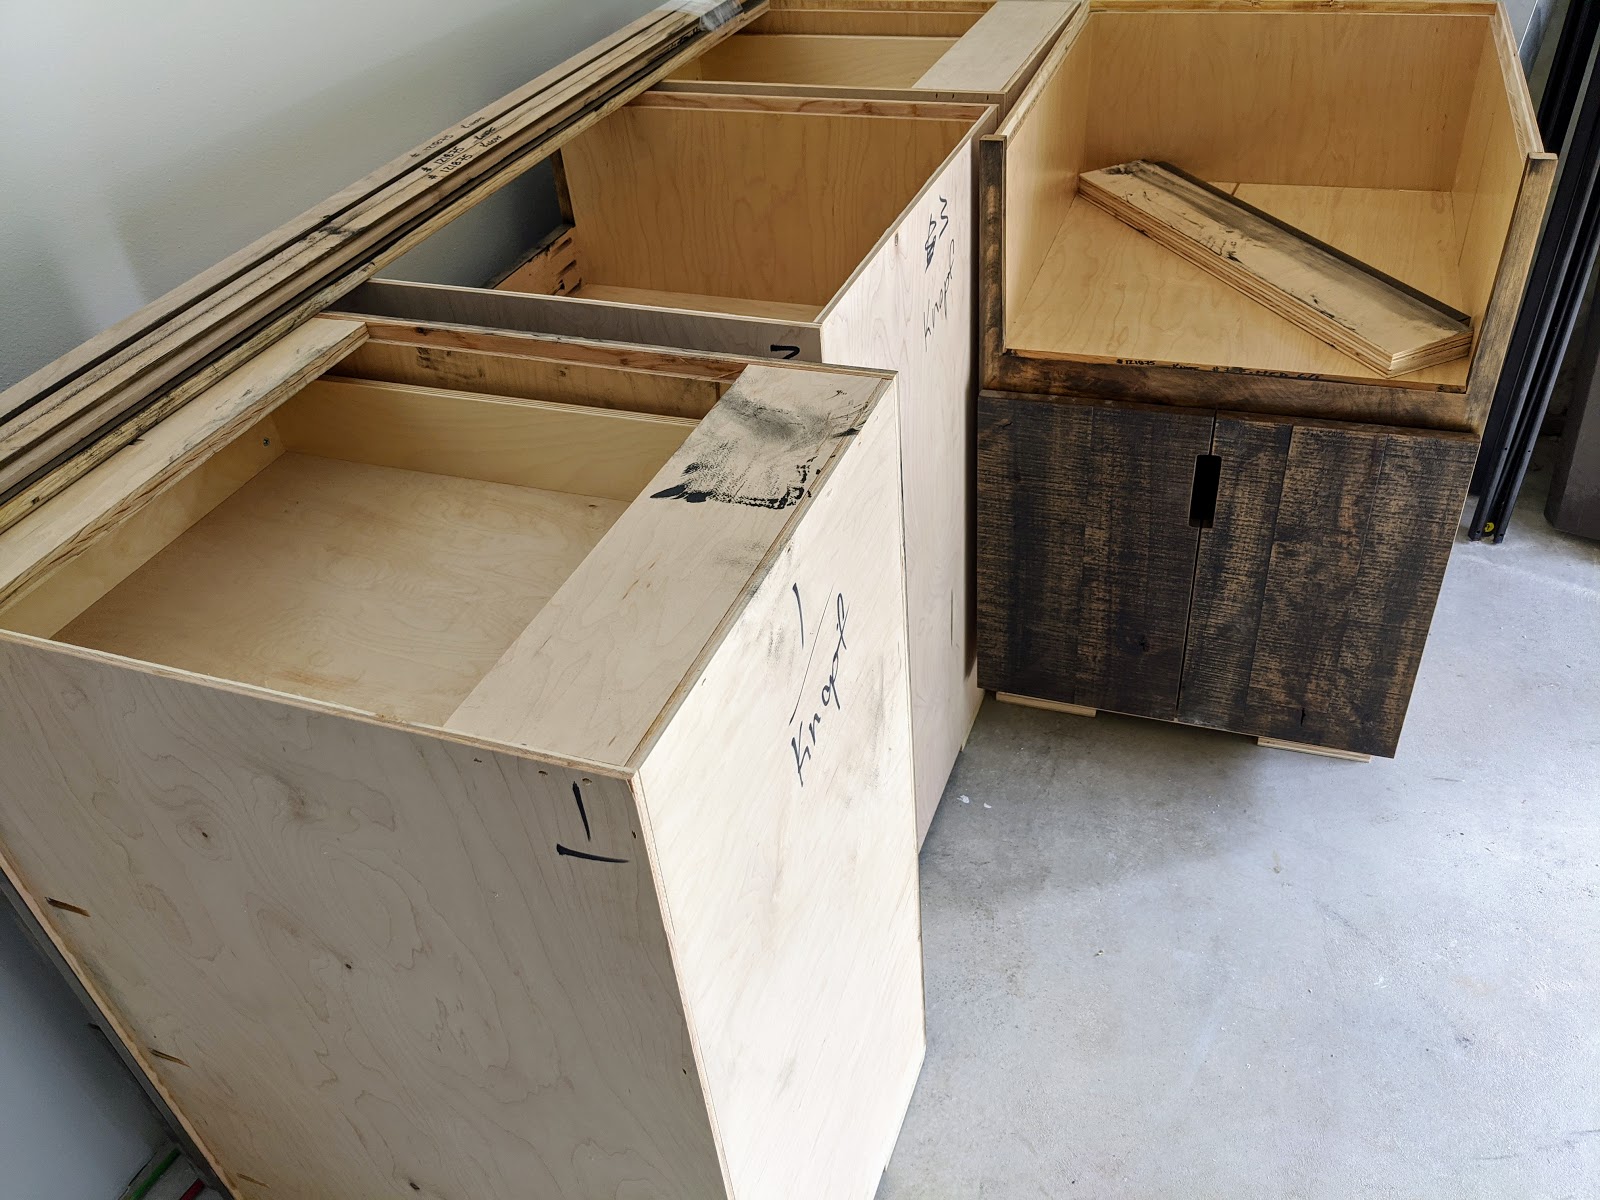
We took delivery of the custom cabinets for kitchen and kitchenette.

Cabinets are stored in the garage for now.

Notice the custom rough-sawn Alder door panels with invisible pulls.

Katie and Isabelle sealed all the wood in the upstairs bedrooms and bathrooms, and in the entry on the main level.

Katie, Isabelle and Mackenley sealing the wood in the bunkroom.

Mackenley, again with the assist to Isabelle.

All that assisting was interspersed with videos on the iPad.

08 June 2020

Olaf bites the dust for the season

The snow melt has been steady since the last snow fall the first week in April. And I was able to drive in to KnArrow Haus and park in the driveway on Friday and Saturday.

The 2019-20 Snow Season at Stevens Pass

Schneewagen is safely put away for the summer. There are a few patches of snow melting on the sides of the road and in the yard. Our kitchen cabinets will be delivered onsite Wednesday. My building permit has been extended until November 11th.

The final push for occupancy begins...   (Contact me if you'd like to help.)